
Graphics · Published
How to convert STL to G-code with free software
You convert STL to G-code with a slicer. Install a free slicer such as UltiMaker Cura, PrusaSlicer or OrcaSlicer, add your exact printer, choose the filament and a layer height, turn on supports if the model overhangs, click Slice, check the preview and export the G-code to a file or SD card.
Use your printer maker's slicer if it has one: PrusaSlicer for Prusa, Bambu Studio for Bambu Lab, Creality Print for Creality. For other brands or mixed printers, OrcaSlicer and Cura have the most ready profiles. All five are free and open source.
Why G-code only works on one printer
An STL file holds only the shape of a model as a mesh of triangles: no size units, no material, no machine. G-code is the opposite: a list of moves, extrusion amounts, fan speeds and temperatures written for one printer's bed size, nozzle, firmware and filament. Its start G-code homes the axes and heats the nozzle the way that specific machine expects.
So there is no universal G-code file. A file sliced for a larger bed or other firmware can drive the nozzle past the end of an axis or use the wrong temperature. Always slice with your own printer profile selected.
Method 1: Slice an STL in UltiMaker Cura
UltiMaker Cura has profiles for UltiMaker printers and many third-party machines. UltiMaker's support site describes this workflow:
- Open the printer selection panel, choose Add printer, select Non UltiMaker printer and pick your brand and model under Add a non-networked printer. If it is missing, choose the custom printer and enter the bed size and start G-code from the manufacturer in Machine Settings.
- Click the open file button at the top left and select the STL. If it looks tiny, it was probably modeled in inches: scale it by 2540%.
- In the configuration panel, choose the nozzle size and material you have loaded, for example Generic PLA.
- Open the print settings panel. In Recommended mode, pick a profile and resolution (layer height; 0.2 mm is a common start for a 0.4 mm nozzle), set the infill, tick Support if parts overhang or float, and tick Adhesion for a brim or raft.
- Click Slice at the bottom right. When it finishes, click Preview and drag the layer slider to check every layer.
- Click Save to Disk, or save to the removable drive if your SD card is inserted, to write the .gcode file.
Custom mode opens more than 400 settings. UltiMaker recommends at least 15% infill for standard parts.
Method 2: PrusaSlicer and OrcaSlicer
PrusaSlicer starts with the Configuration Wizard, where you tick your printer, nozzle and filaments. Prusa's Knowledge Base gives these steps:
- Drag the STL into the window, or use File, then Import. Use the Place on Face tool to lay the flattest side on the bed.
- In the right panel, select the printer, the filament and a print profile; Prusa suggests 0.15 or 0.2 mm layers to start.
- Set Supports to On build plate only or Everywhere, set Infill to about 15%, and tick Brim for small or tall parts.
- Click Slice now. PrusaSlicer switches to the preview; check the layers with the slider on the right.
- Click Export G-code, or Export to SD/USB drive when removable media is detected.
For Prusa MINI, MK4 and XL printers on firmware 5.1.0 or newer, PrusaSlicer writes binary G-code (.bgcode) by default. If your printer or OctoPrint needs plain text, clear Use binary G-code when the printer supports it in Configuration, then Preferences, then Other.
OrcaSlicer uses the same idea with different names. In the Prepare tab, choose the printer, filament and process preset on the left; layer height is on the Quality tab of the process settings, infill density on Strength and supports on Support. Click Slice plate, check the Preview tab, then click Export G-code file at the top right, or open the arrow next to Print and choose it there. Download OrcaSlicer only from orcaslicer.com or its GitHub releases, because fake download sites copy the project.
Method 3: Brand slicers for Bambu Lab and Creality
Bambu Studio is tuned for Bambu Lab printers. Select your printer and filament, click Slice plate (Ctrl+R), check the preview, then open the arrow next to Print plate and choose Export plate sliced file (Ctrl+G). Bambu printers read the resulting .gcode.3mf file from the SD card: it holds the G-code plus thumbnails and settings the printer needs.
Creality Print works the same way for Creality machines. Choose the Printer, Filament and Process presets, click Slice plate at the bottom right and check the preview. To save the file instead of printing over the network, click the arrow next to LAN Print and choose Export to Local, then save the G-code to the SD card or USB drive.
Settings that decide whether the print works
Lay the largest flat face on the bed and turn overhangs so they need as little support as possible. Supports go under parts that would start in mid-air; check in the preview where they touch the model, because those surfaces print rougher.
Layer height trades detail for time: thin layers look smoother but print slower. UltiMaker suggests keeping it between 25% and 75% of the nozzle size. Infill sets strength and weight; 15 to 20% suits most display parts, more for functional ones. The filament profile sets nozzle and bed temperatures, so pick the material you actually loaded.
Free tools for this job
| App | Best for | License | Price | Download |
|---|---|---|---|---|
 UltiMaker Cura |
Beginners and owners of common printers from many brands | Open source | Free | Review |
 PrusaSlicer |
Prusa printers and precise offline slicing | Open source | Free | Review |
 OrcaSlicer |
Mixed printer fleets and fine-tuning print quality | Open source | Free | Review |
 Bambu Studio |
Bambu Lab printers with AMS multicolor | Open source | Free | Review |
 Creality Print |
Creality K-series and Ender printers | Open source | Free | Review |
1. UltiMaker Cura — 3D Printing Slicer
Best for: Beginners and owners of common printers from many brands
- Open source
- Free
- Graphics
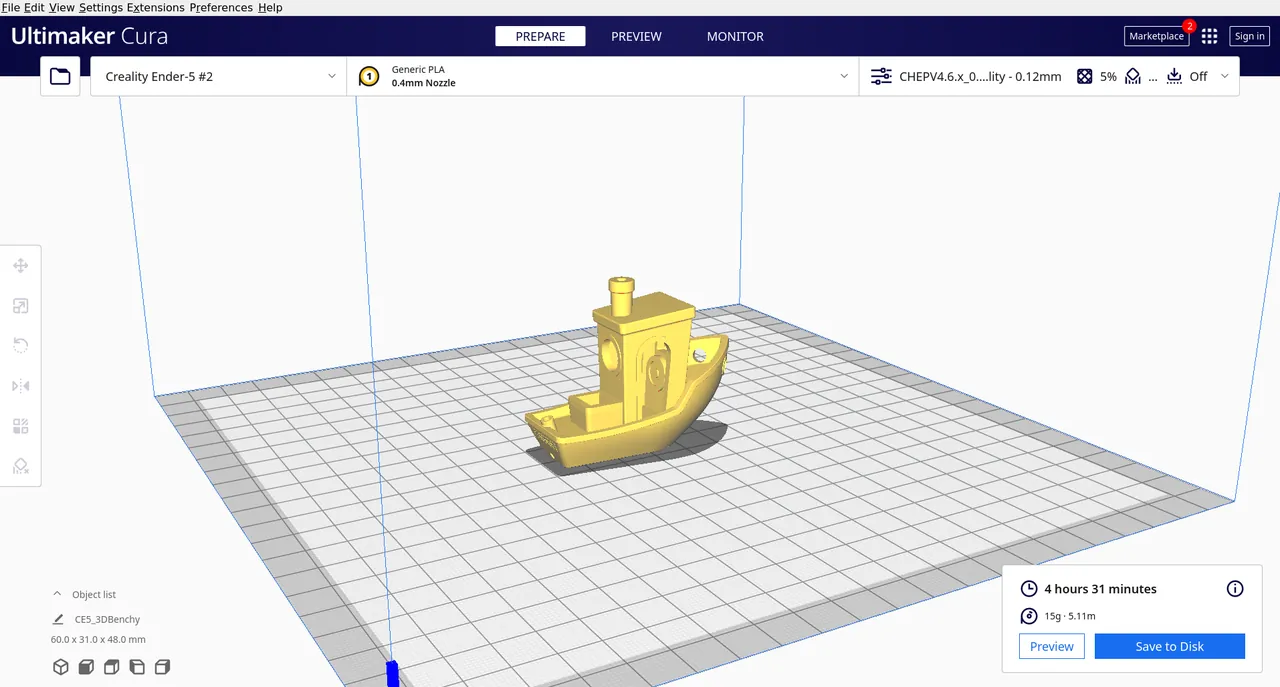

Cura's Recommended mode gets you from STL to G-code with a profile, an infill slider and support and adhesion checkboxes, and Custom mode adds hundreds of settings. Direct and cloud printing are limited to UltiMaker printers, so other brands save to disk or SD card.
Pros
- Free and open source
- Beginner-friendly recommended mode
- Hundreds of settings for advanced users
Cons
- Large installer compared with other slicers
- Direct printing and cloud features are reserved for UltiMaker printers
2. PrusaSlicer — 3D Printing Slicer
Best for: Prusa printers and precise offline slicing
- Open source
- Free
- Graphics
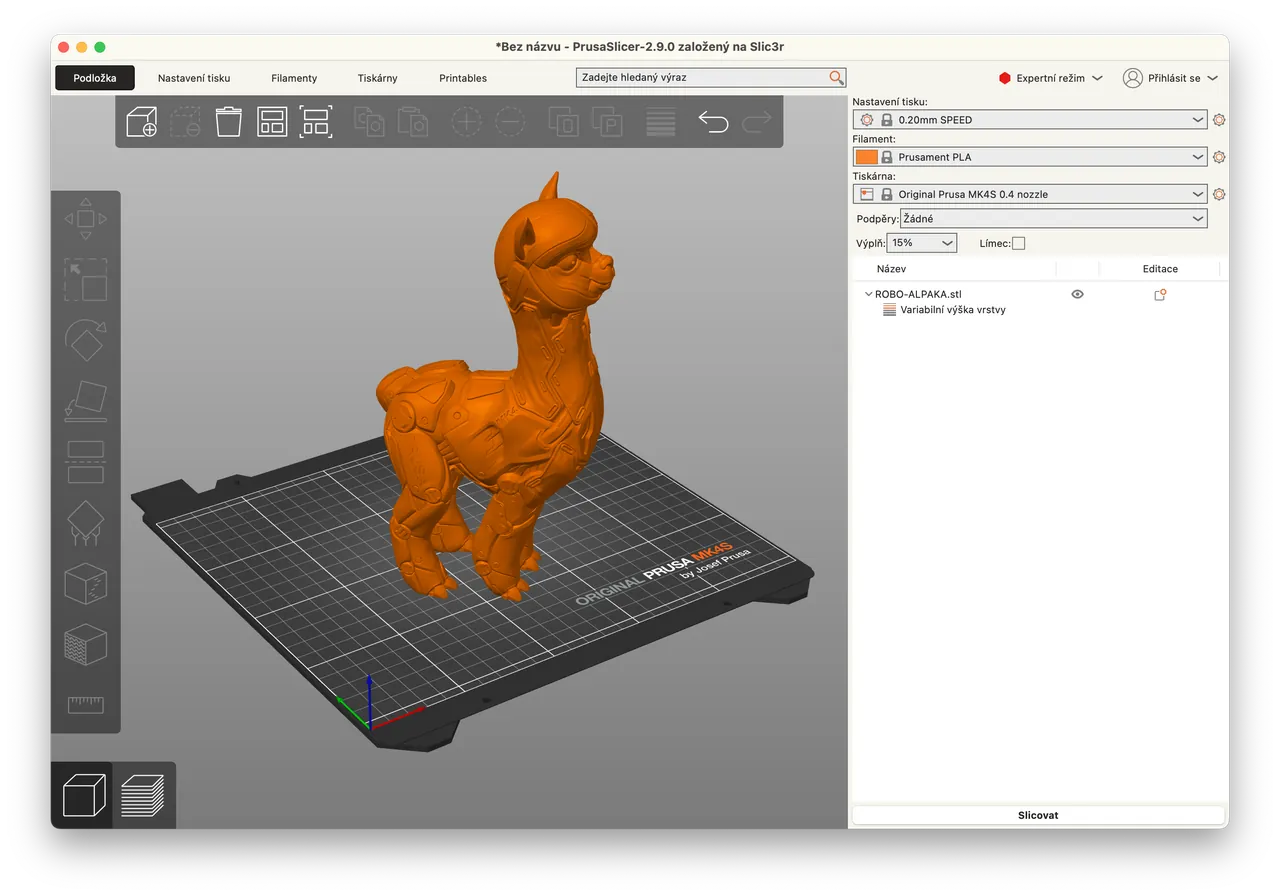

PrusaSlicer exports plain or binary G-code and sends files to Prusa printers, OctoPrint and Klipper. Other brands need more profile setup than in OrcaSlicer.
Pros
- Free and open source
- No account or cloud required
- Advanced supports and multi-material tools
Cons
- Profiles and integration are focused on Prusa hardware
- Expert mode has a steep learning curve
3. OrcaSlicer — 3D Printing Slicer
Best for: Mixed printer fleets and fine-tuning print quality
- Open source
- Free
- Graphics
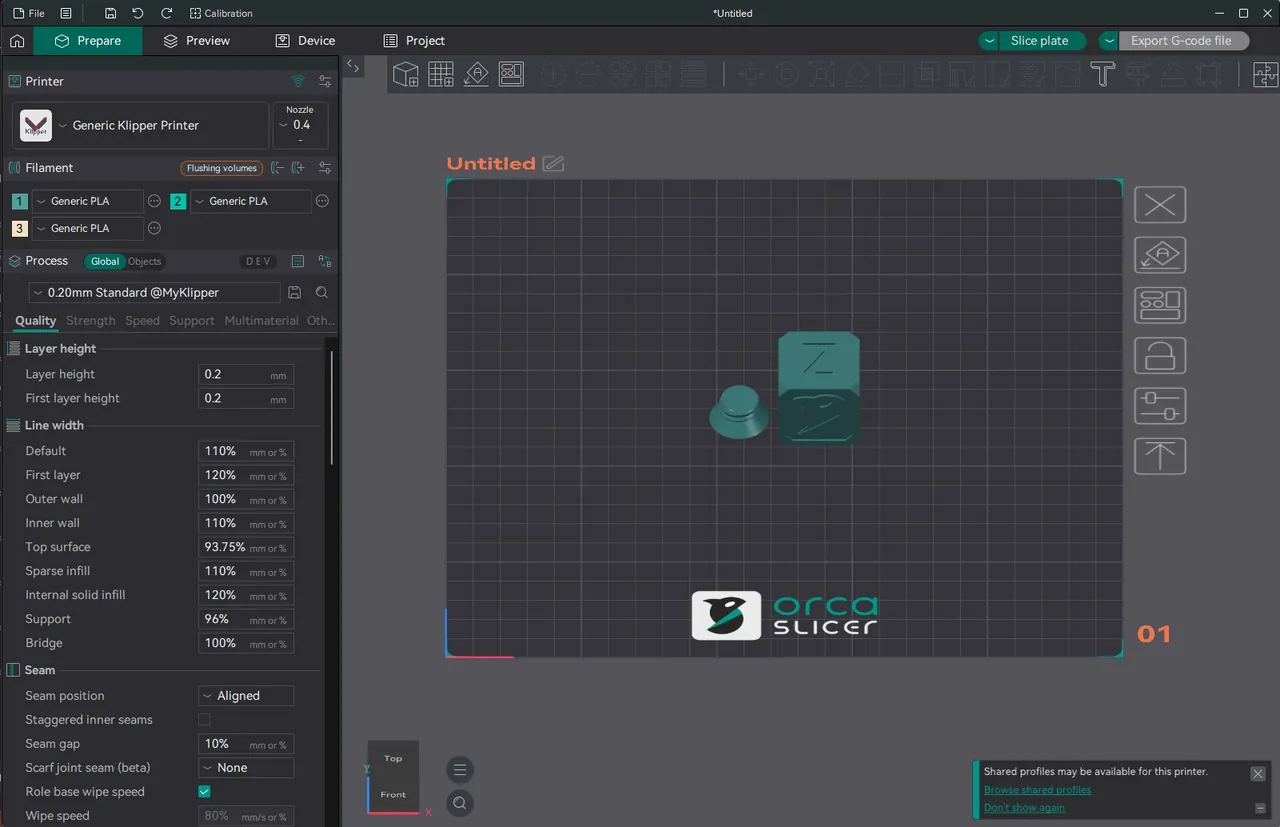
OrcaSlicer ships profiles for Bambu Lab, Prusa, Voron, Creality and more, and its calibration menu prints test models for flow, pressure advance, temperature and retraction. The number of settings can overwhelm a first-time user.
Pros
- Free and open source
- Supports many printer brands
- Excellent built-in calibration
Cons
- Many settings can overwhelm beginners
- Fake download sites imitate the project
4. Bambu Studio — 3D Printing Slicer
Best for: Bambu Lab printers with AMS multicolor
- Open source
- Free
- Graphics
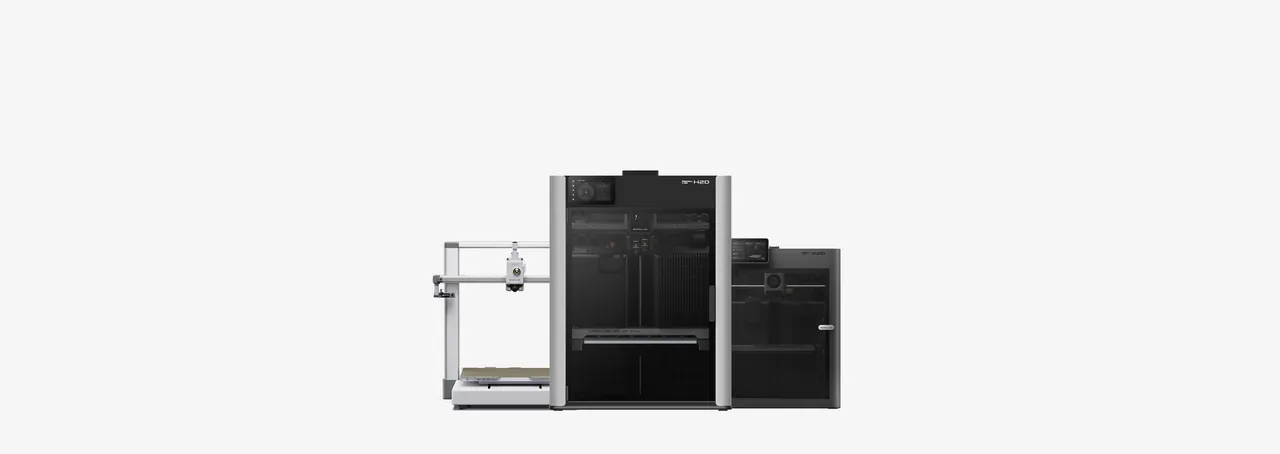
Bambu Studio maps painted colors to AMS slots and exports .gcode.3mf files that Bambu printers read directly. Its value drops on other brands, where OrcaSlicer or PrusaSlicer have more profiles.
Pros
- Free and open source
- Tuned profiles for Bambu printers
- Excellent multi-color workflow
Cons
- Best features need Bambu hardware
- Cloud printing requires a Bambu Lab account
5. Creality Print — 3D Printing Slicer
Best for: Creality K-series and Ender printers
- Open source
- Free
- Graphics
Creality Print is based on OrcaSlicer, so the workflow is familiar, and it comes with tuned Creality profiles and multicolor tools. For other brands it offers fewer ready profiles than OrcaSlicer.
Pros
- Free and open source
- Tuned profiles for Creality printers
- Strong multi-color and gradient tools
Cons
- Best suited to Creality hardware
- Several builds of one version on GitHub can be confusing
- Large installer, about 320 MB
Frequently asked questions
Can I convert STL to G-code without a slicer?
No. G-code has to be generated for a specific printer, nozzle and filament, which is exactly what a slicer does. Free slicers such as UltiMaker Cura, PrusaSlicer and OrcaSlicer do it offline on your PC.
Can I use G-code made for another printer?
Only if it was sliced for the same model with the same nozzle and filament. Otherwise the bed size, start G-code and temperatures may be wrong, which can crash the nozzle into the bed or ruin the print.
Why is my STL tiny or huge in the slicer?
STL files store no units, and slicers assume millimeters. A model drawn in inches imports 25.4 times too small, so scale it by 2540%.
Can CHITUBOX turn an STL into G-code?
No. CHITUBOX is made for SLA, DLP and LCD resin printers and saves the printer's own resin formats. For filament printers, use an FDM slicer such as Cura or PrusaSlicer.
What is the difference between .gcode, .bgcode and .gcode.3mf?
A .gcode file is plain text for most printers. A .bgcode file is Prusa's compressed binary G-code for MINI, MK4 and XL printers, and a .gcode.3mf file packs G-code with thumbnails and settings for Bambu Lab printers.
ExeDepot does not host installers. Every download button opens the developer's own server or official download page. Prices and licenses come from each developer's site and were checked on .